Skip to content

Propy Knowledge Base

This is your one-stop hub for mastering seamless real estate transactions. Whether you're a real estate agent, a homebuyer, or a seller, our step-by-step guides will help you navigate the Propy platform effortlessly.

From managing offers and documents to completing transactions securely on the blockchain, we’ve got you covered! Choose your role below and start learning today.

For Agents

Master Propy’s tools to streamline your transactions

Propy Profile Setup

Step-by-step guide to setting up and optimizing your Propy profile.

Propy AI

Discover how Propy AI simplifies real estate transactions with smart automation.

Propy Offer Management

Learn how to manage, review, and accept offers seamlessly on Propy.

Propy Messaging Feature

Utilize built-in messaging tools to communicate effectively with clients and agents.

CREATE INSTAGRAM POSTS

Design and share listing content in seconds with Propy.

LIST A PROPERTY ON PROPY

Create listings, share links, and attract buyers — fast.

Compensation Setup

Setting up your compensation is quick, easy, and fully automated.

PROPY COURSES

How to access and complete your Propy courses.

PROOF OF FUNDS (POF)

Verify Your Proof of Funds Instantly.

How-to Guides

How to Set Up Your Propy Account
How to Manage Listings & Transactions
Creating a Transaction as an Agent

For Buyers and Sellers

Simplify your home buying and selling process with Propy

Booking a Notary on Propy

Schedule an online or in-person notary appointment effortlessly.

Digital Earnest Money Deposit

Make secure, real-time deposit payments online without wire fraud risks.

Getting a Quote for Closing Costs

Understand all fees involved and get a detailed breakdown before closing.

How-to Guides

How to Submit an Offer
How to E-Sign Documents Securely
How to Complete the Closing Process

Explore

More Resources

Find answers to common questions.

Stay updated with real estate industry insights.

Need help? Please reach out to support@propy.com

HOW TO SET UP YOUR PROPY ACCOUNT

In this guide, you will learn how to set up and optimize your Propy profile.

1. Create your account

2. Get updates via email, phone & the bell icon on the platform

3. Use the left menu for listings, offers, transactions, courses, preferences, security, docs & billing

4. Go to General Settings → switch to Agent Profile

5. Hit Edit Profile to upload photo, set location, write your bio, add languages & brokerage info

6. Unlock agent tools:

    - List properties
    - Manage offers
    - Get crypto leads
    - Use smart contracts
    - Sign & communicate digitally

You’re all set. Your Propy profile is ready — start exploring!

HOW TO MANAGE LISTINGS & TRANSACTIONS

These guides walk you through creating and managing property listings, as well as handling transactions as an agent.

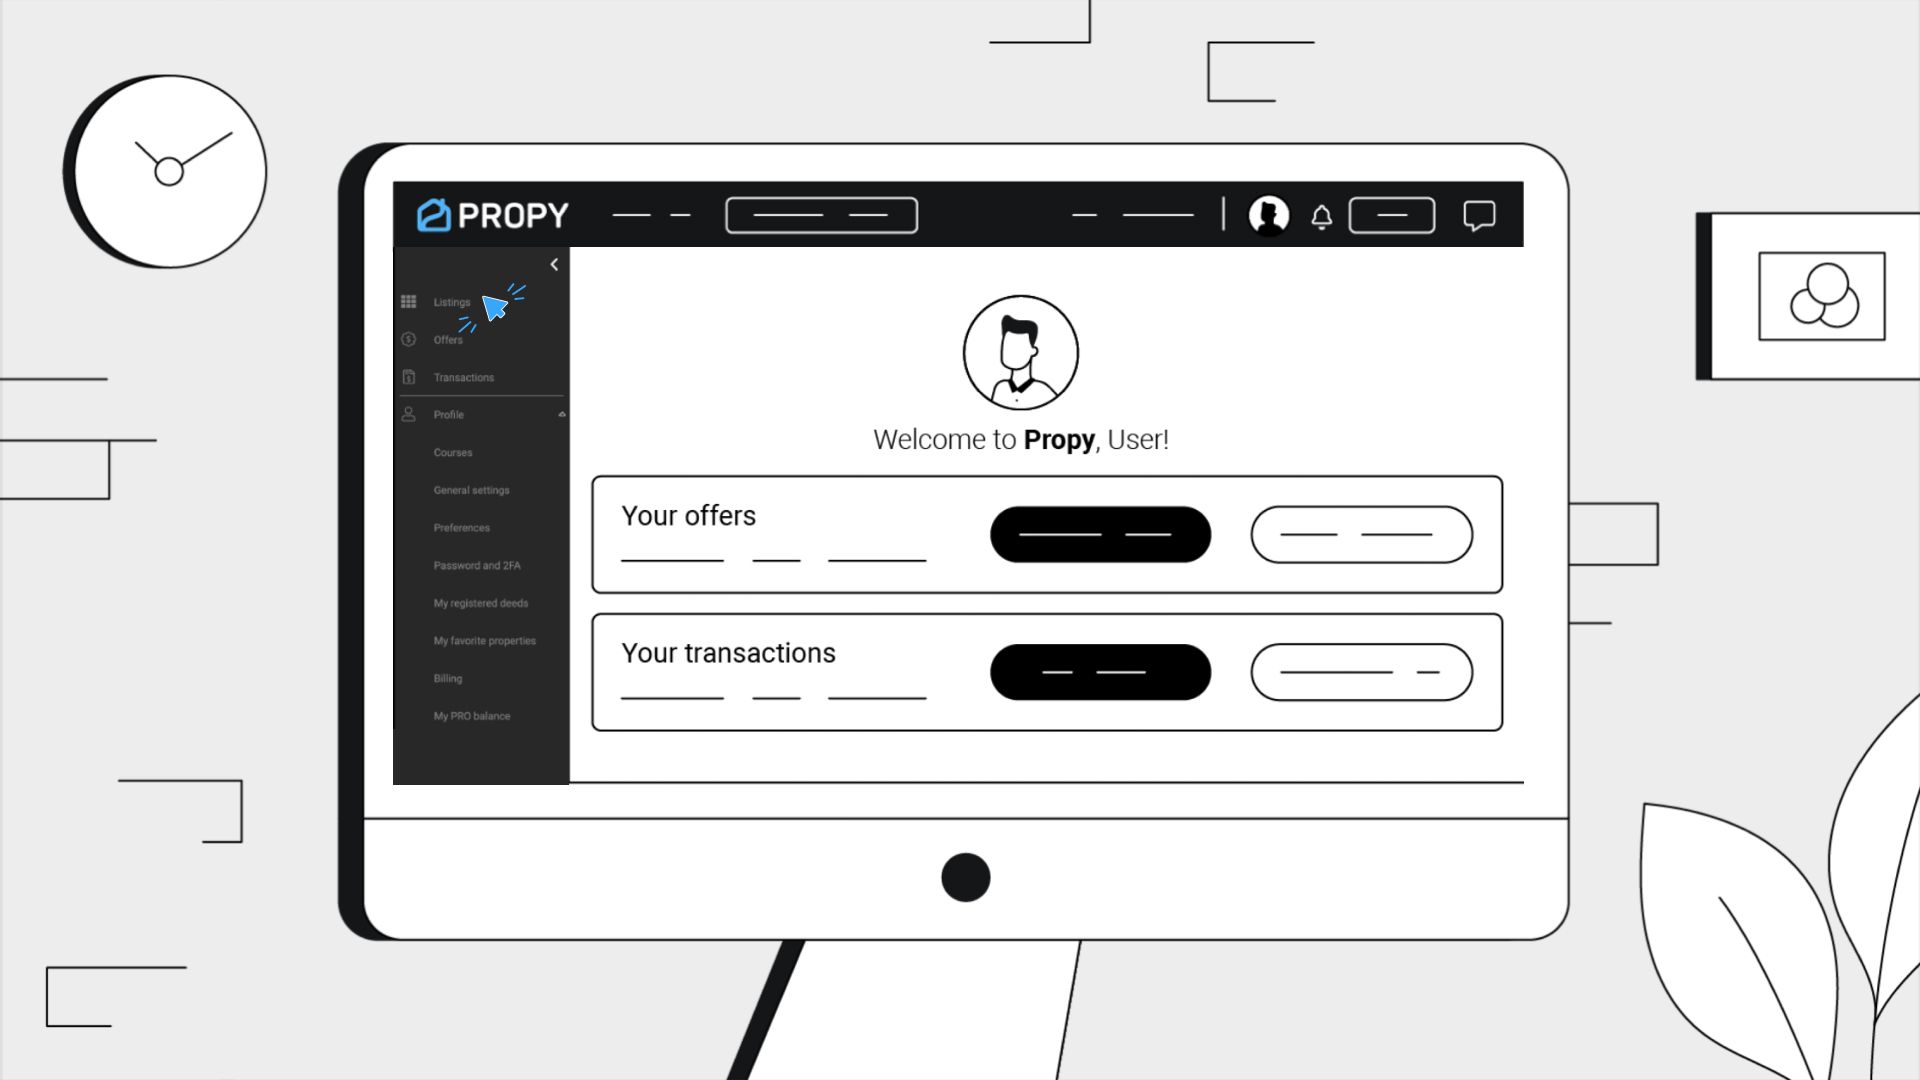
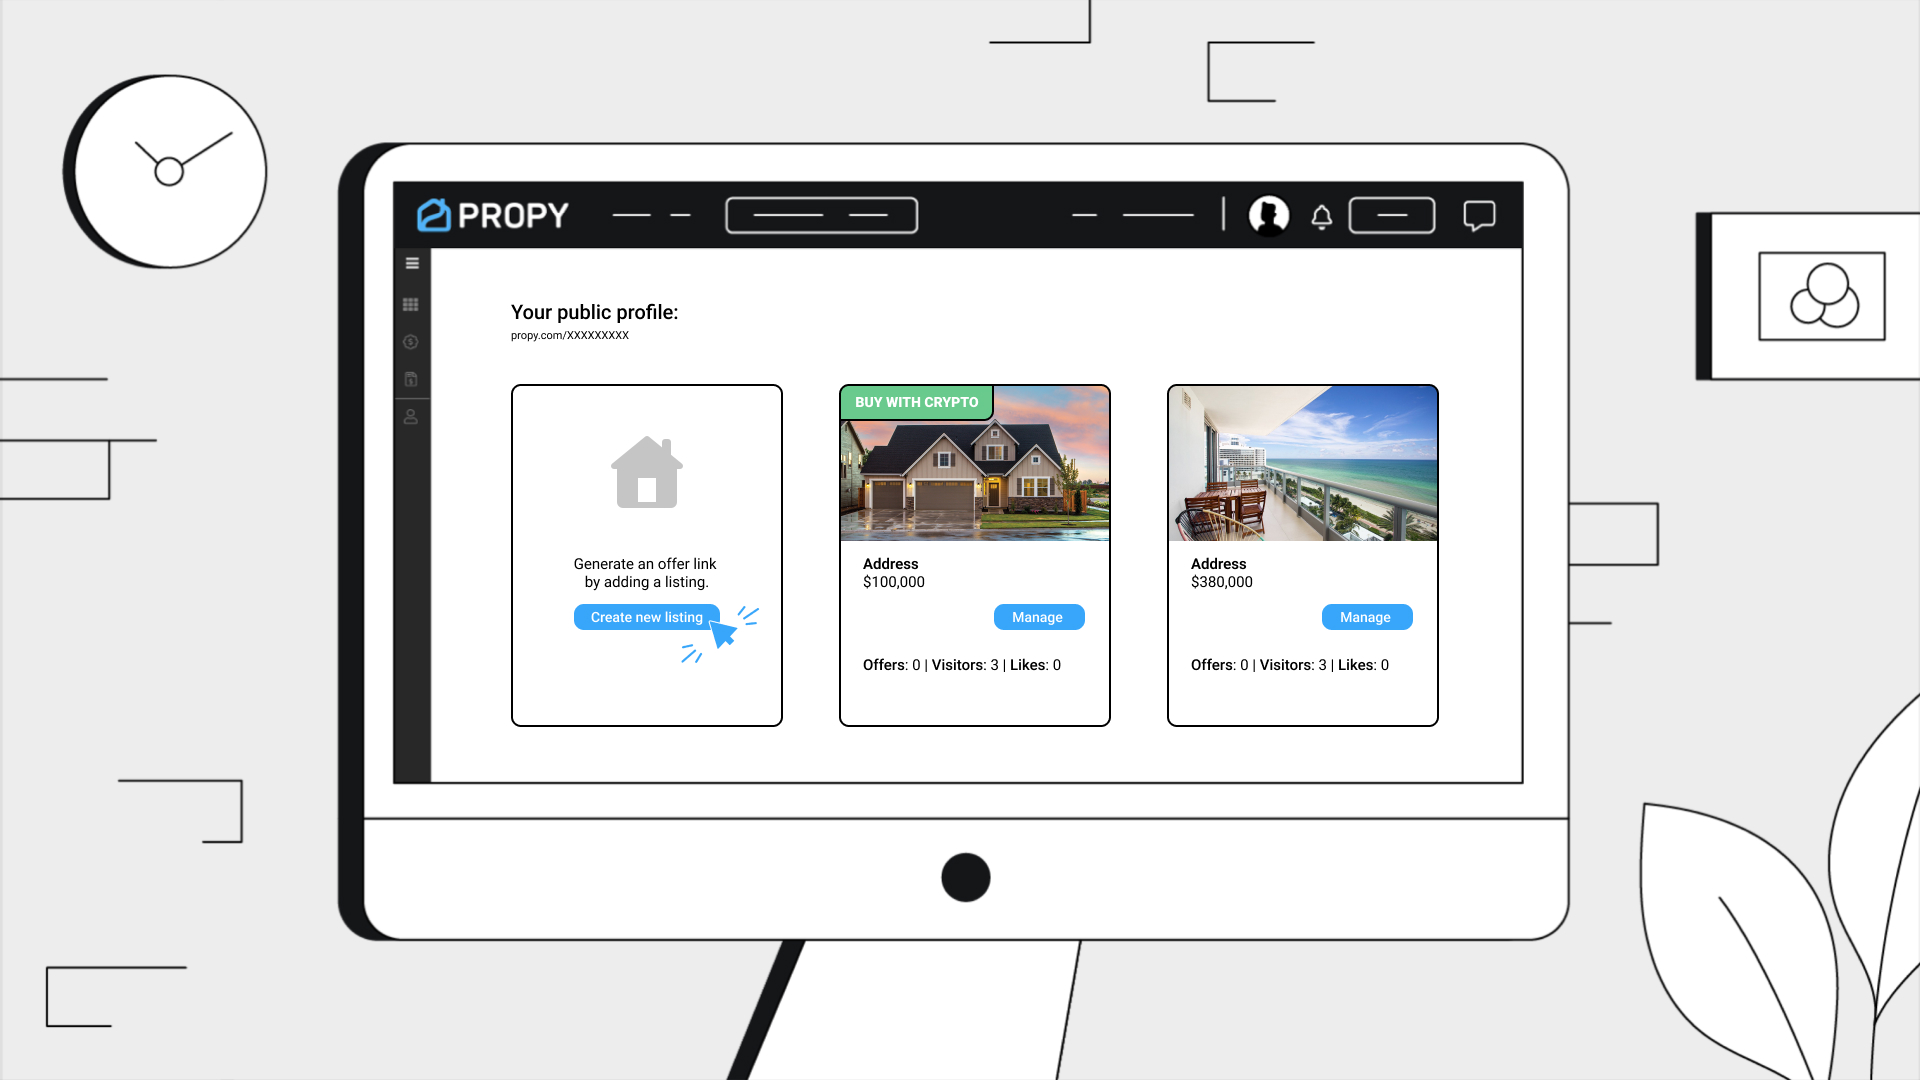
1. Open the Listings Menu:

    - Navigate to the Listings section in the main menu.
    - Click the "Create New Listing" button.

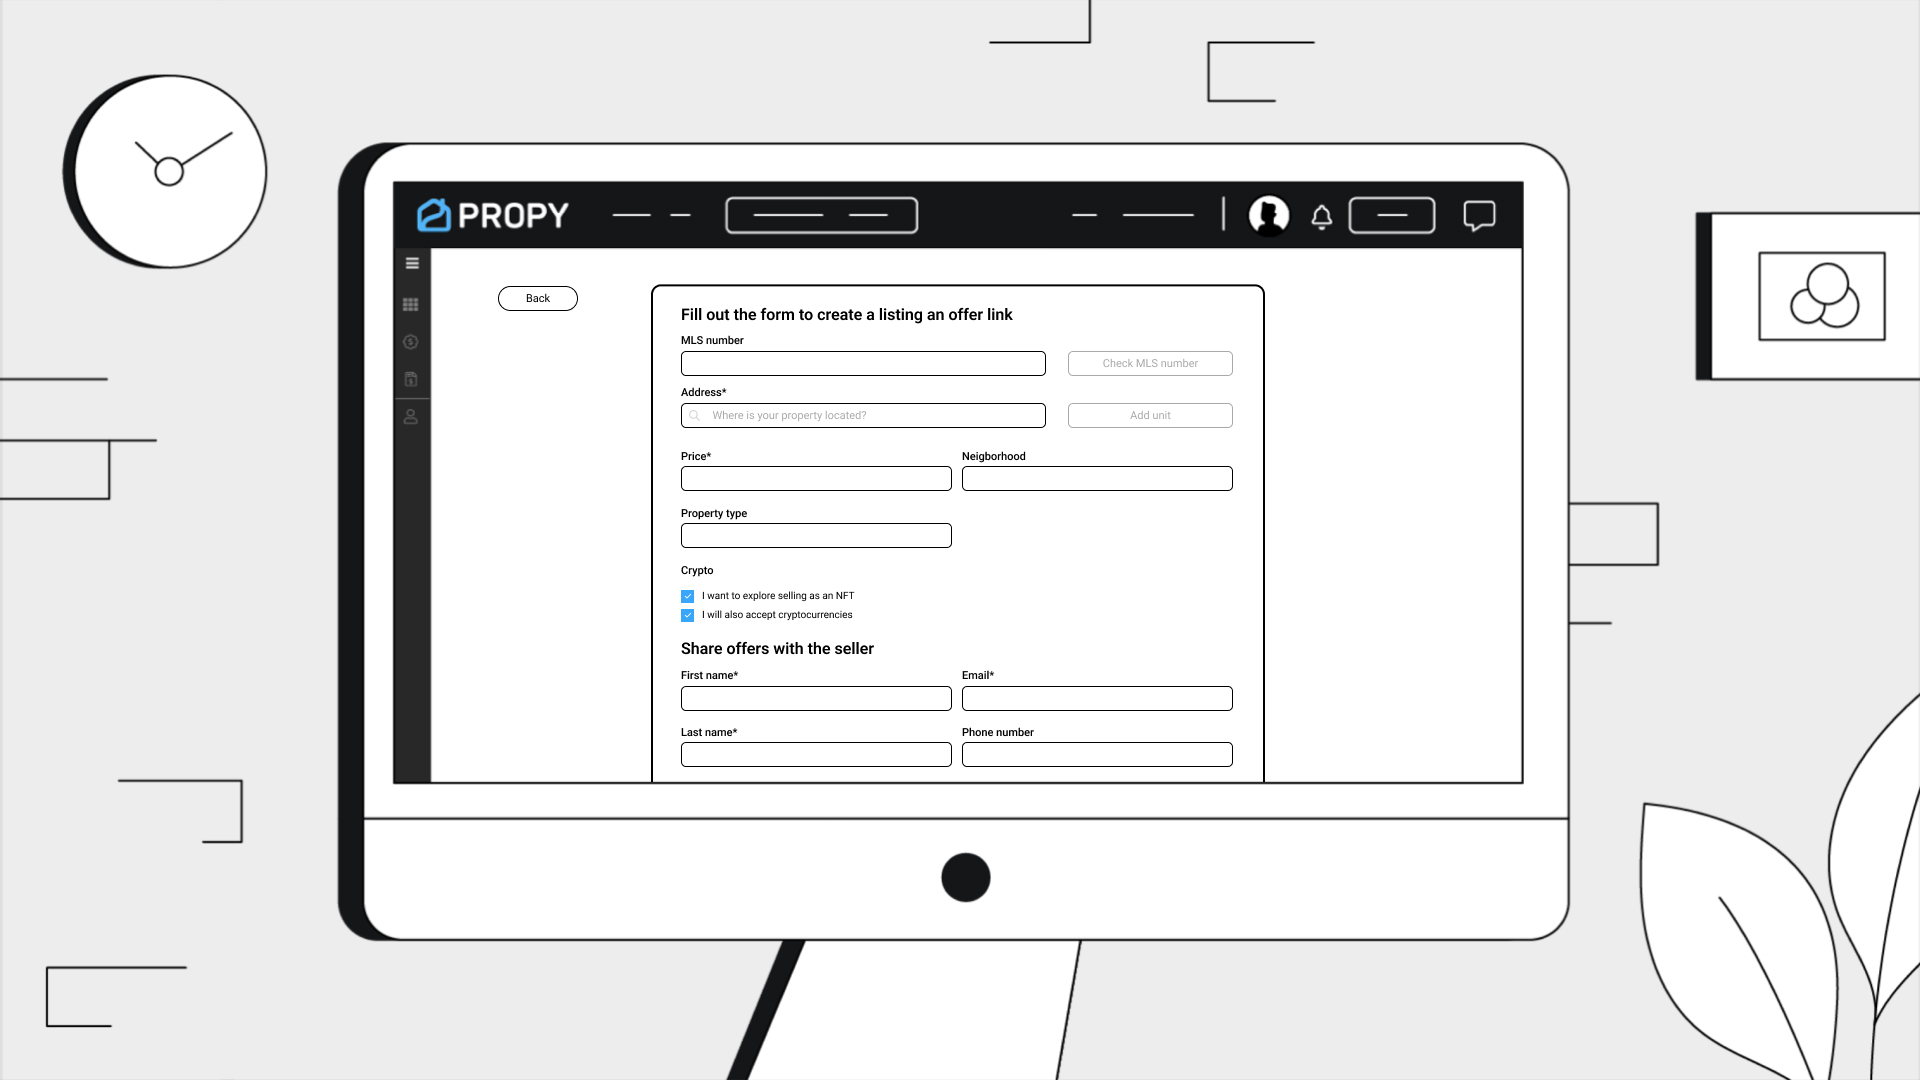
2. Fill Out the Listing Details:

    - Enter the following required fields:

      - Address
      - Price
      - Property Type

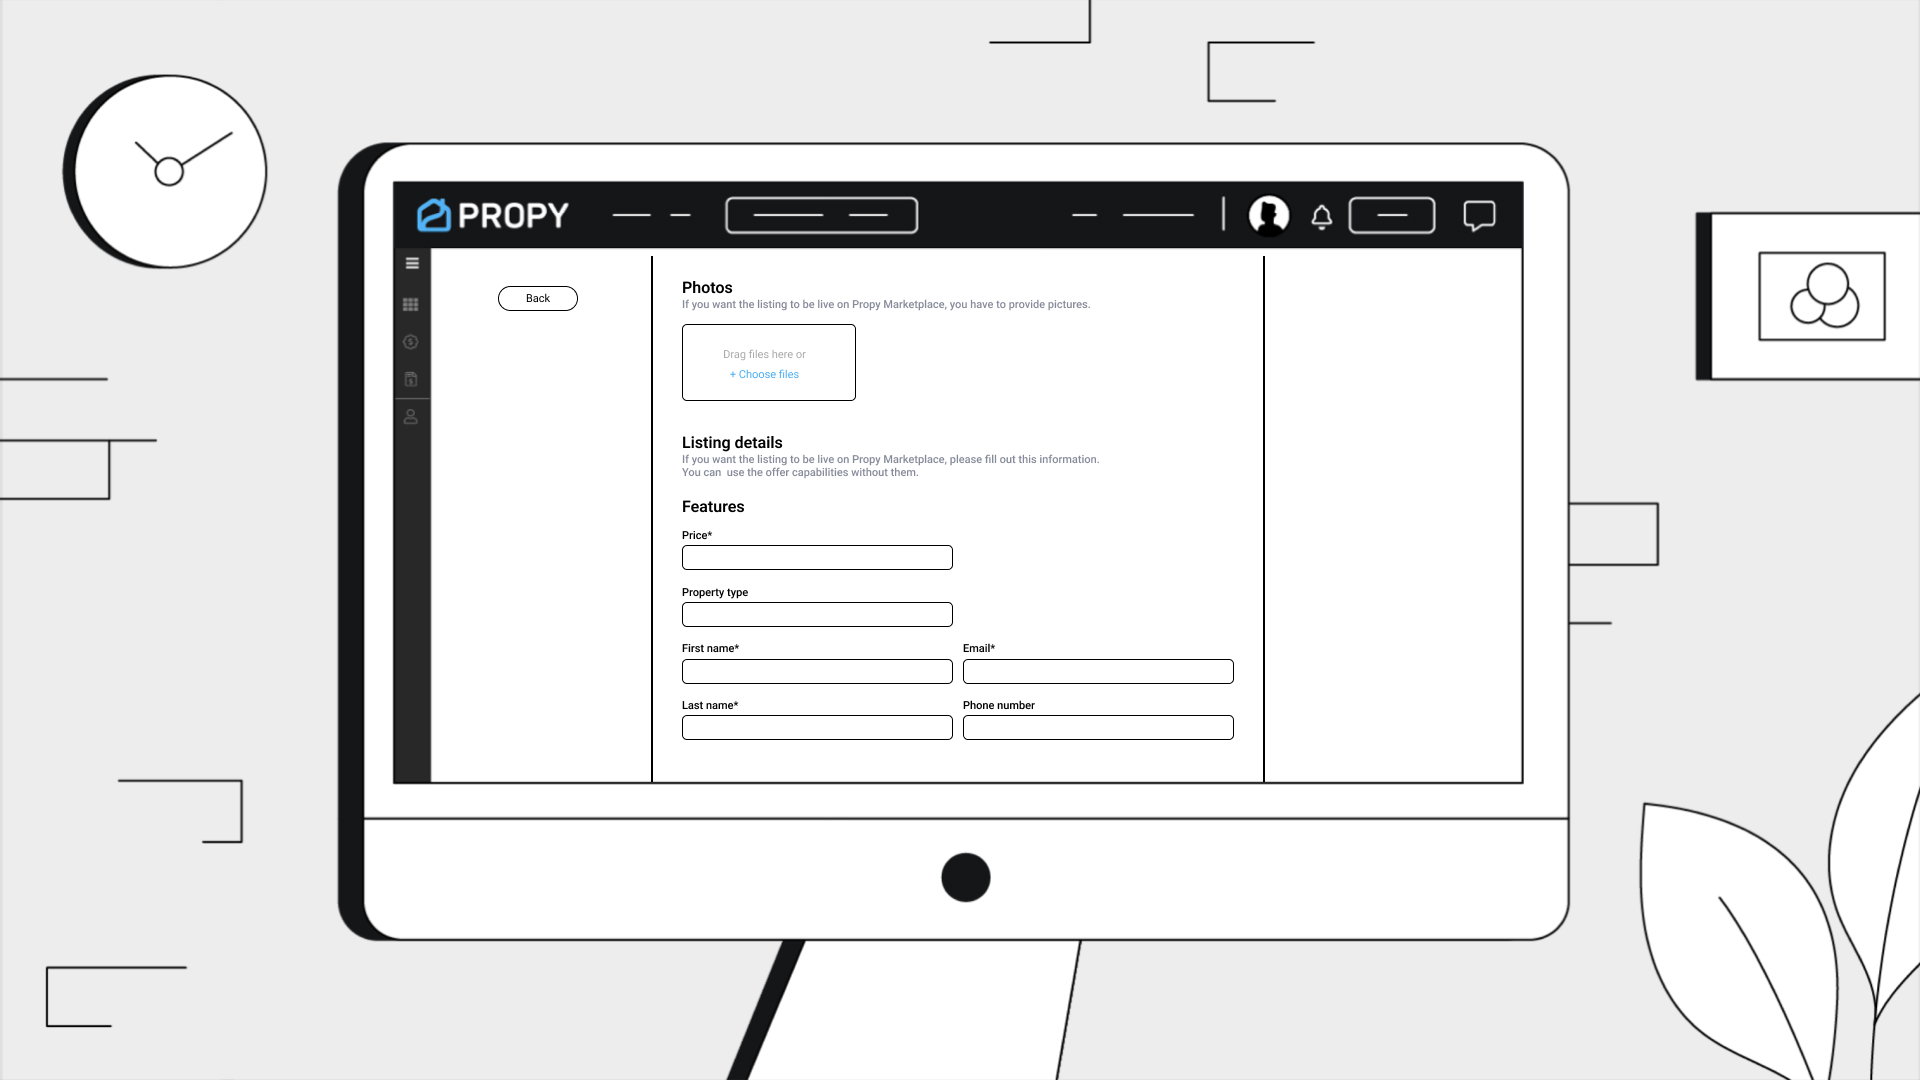
    - Upload photos to the "Photos" section.

    - Optional checkboxes (if applicable):

      - "I want to explore selling as an NFT"
      - "I will also accept cryptocurrencies"

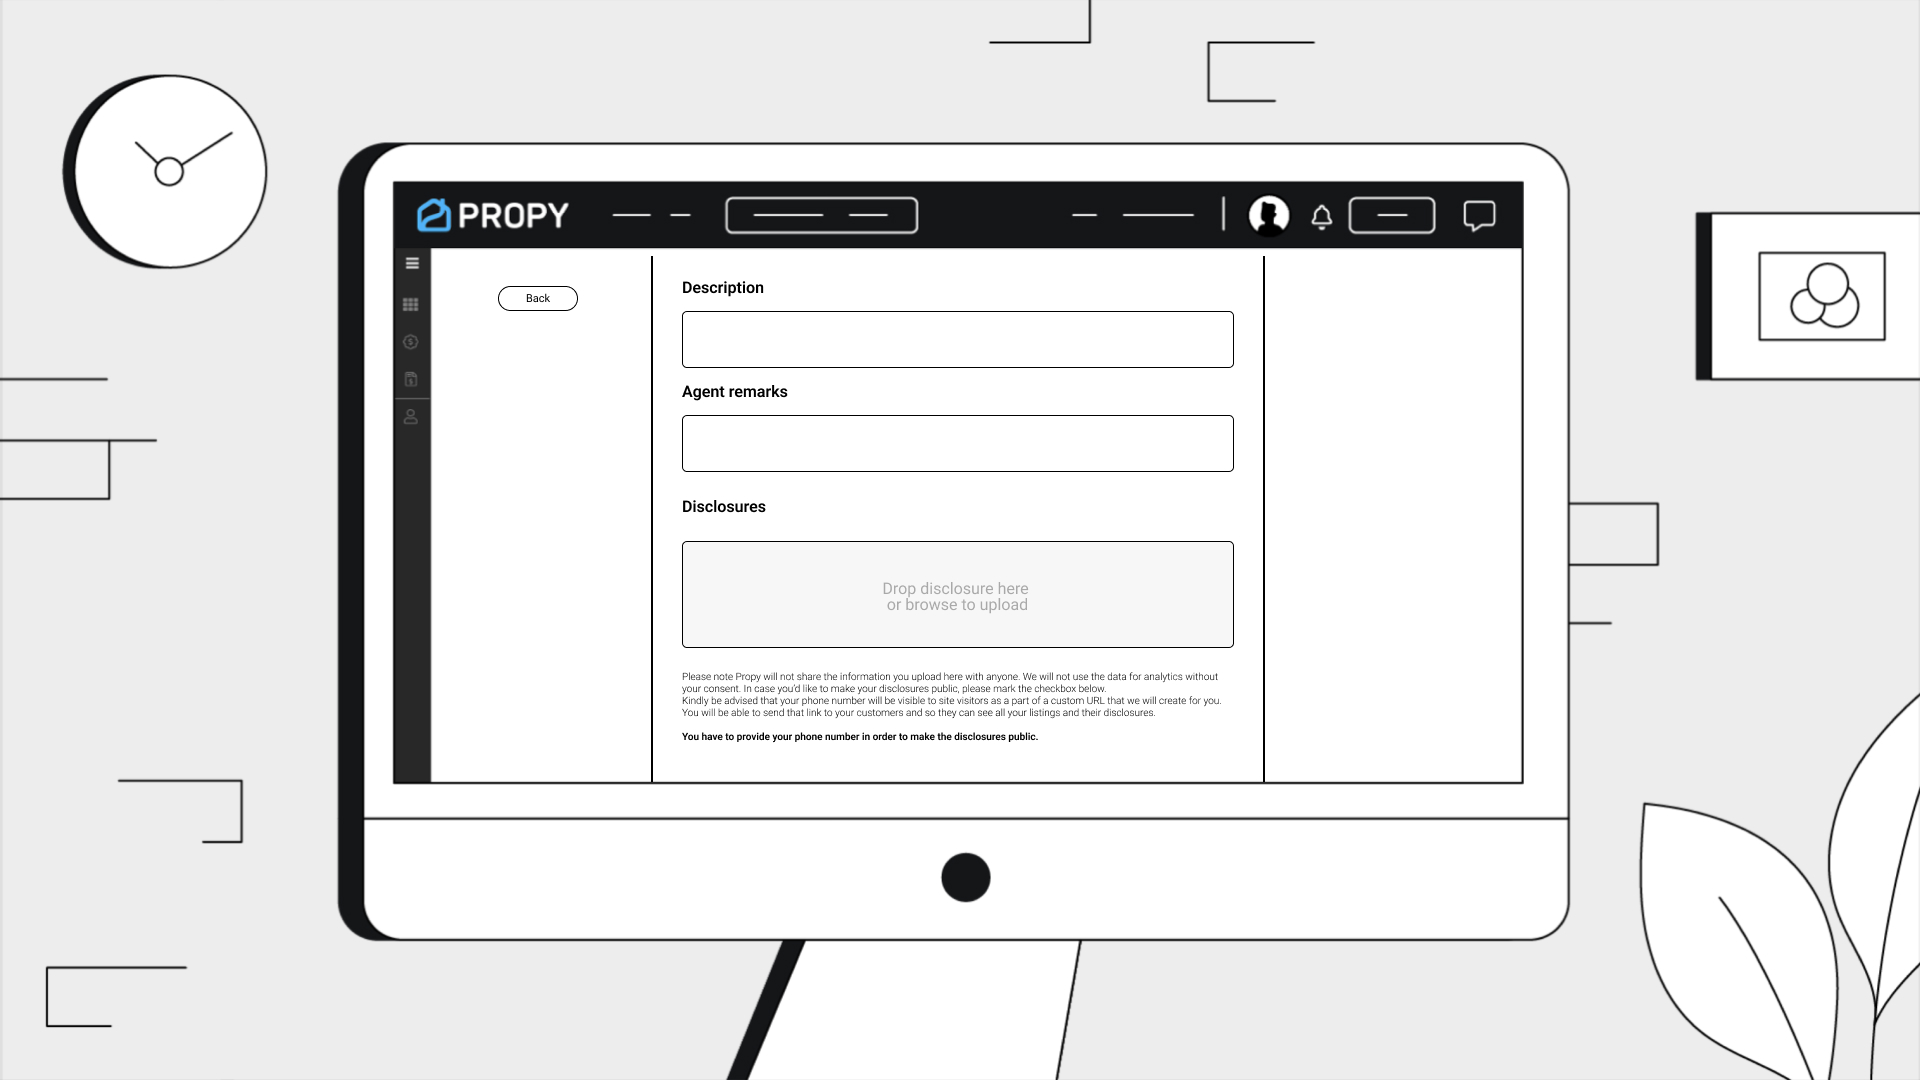
3. Verify Your Phone Number:

    - Click on "Listing Details".
    - Under the Disclosure section, click the "Phone Number" link.
    - Enter your phone number and click "Submit".
    - Enter the verification code sent to your phone and click "Submit Code".

4. Complete Additional Details

    - Fill in all fields under the "Additional Details" section.
    - Mark all required checkboxes.
    - Upload any necessary supporting documents.

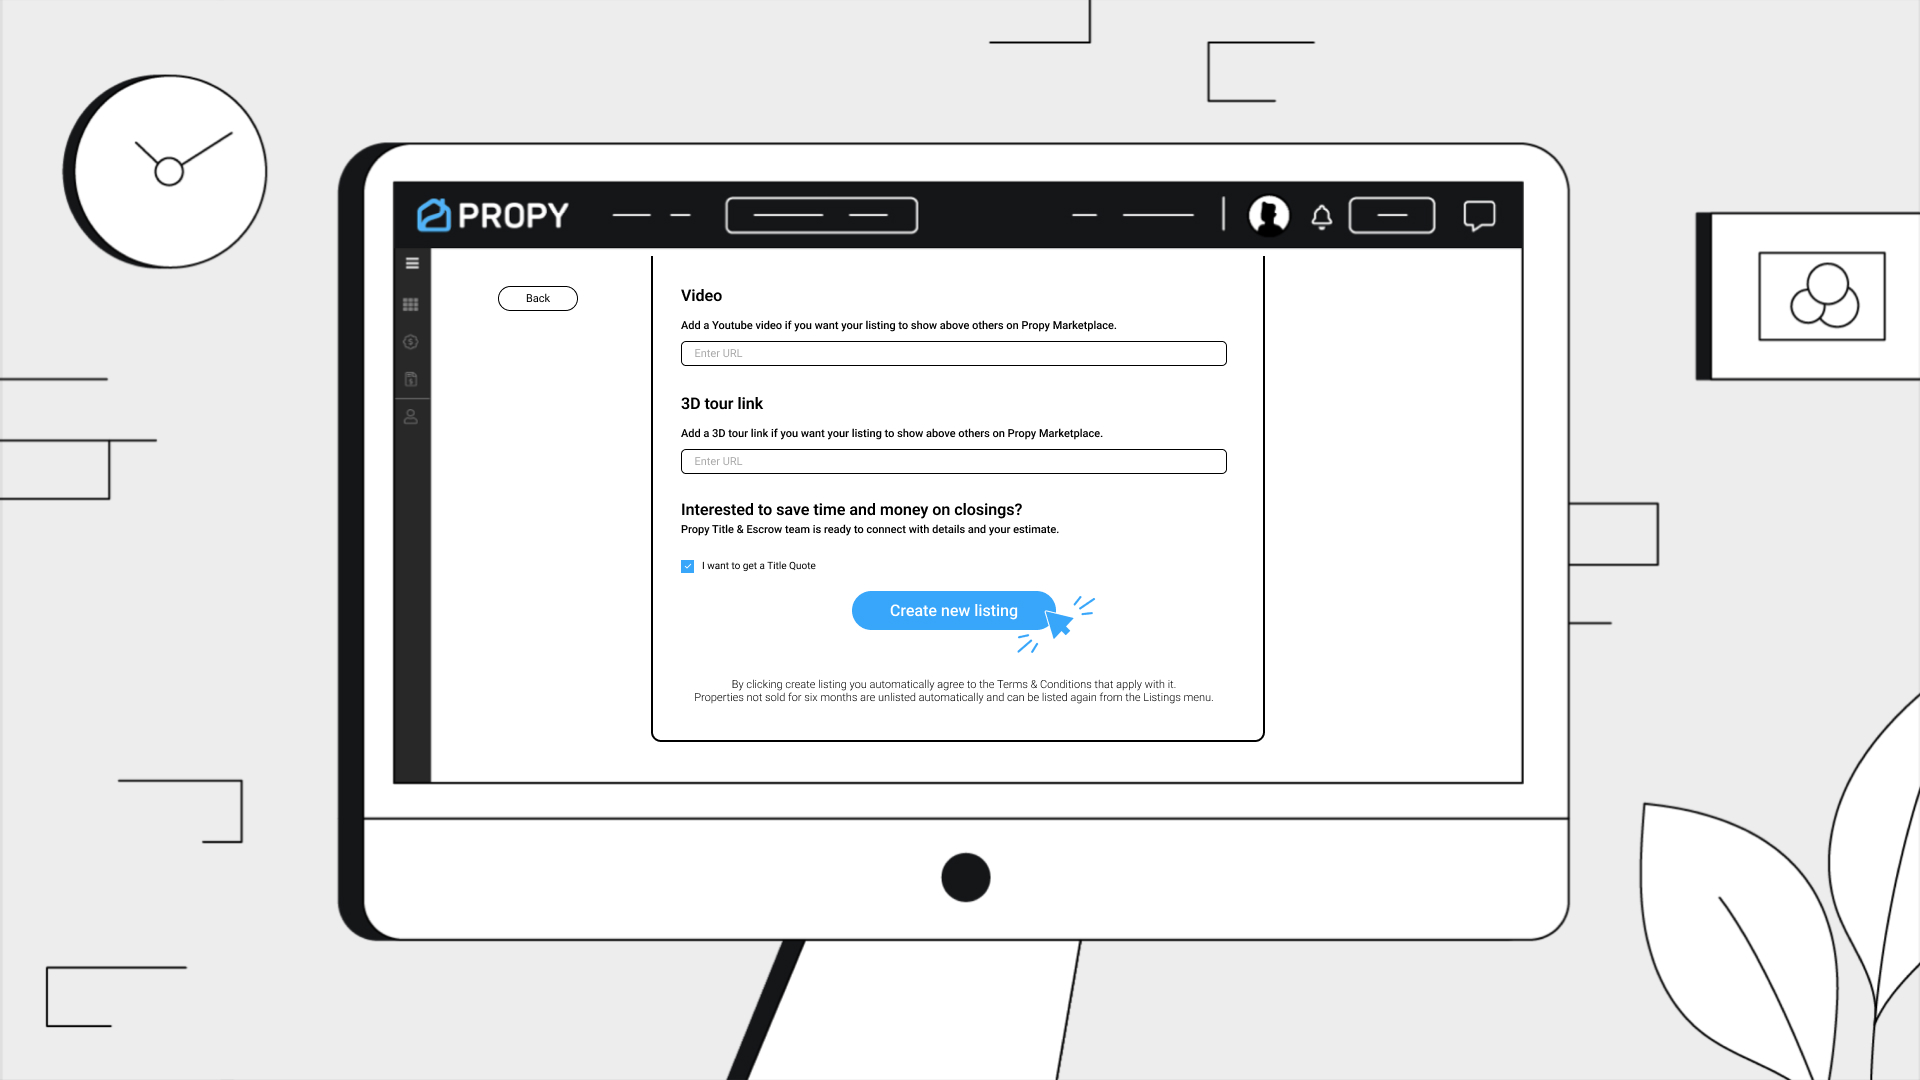
5. Finalize and Publish the Listing

    - Click the "Create New Listing" button.
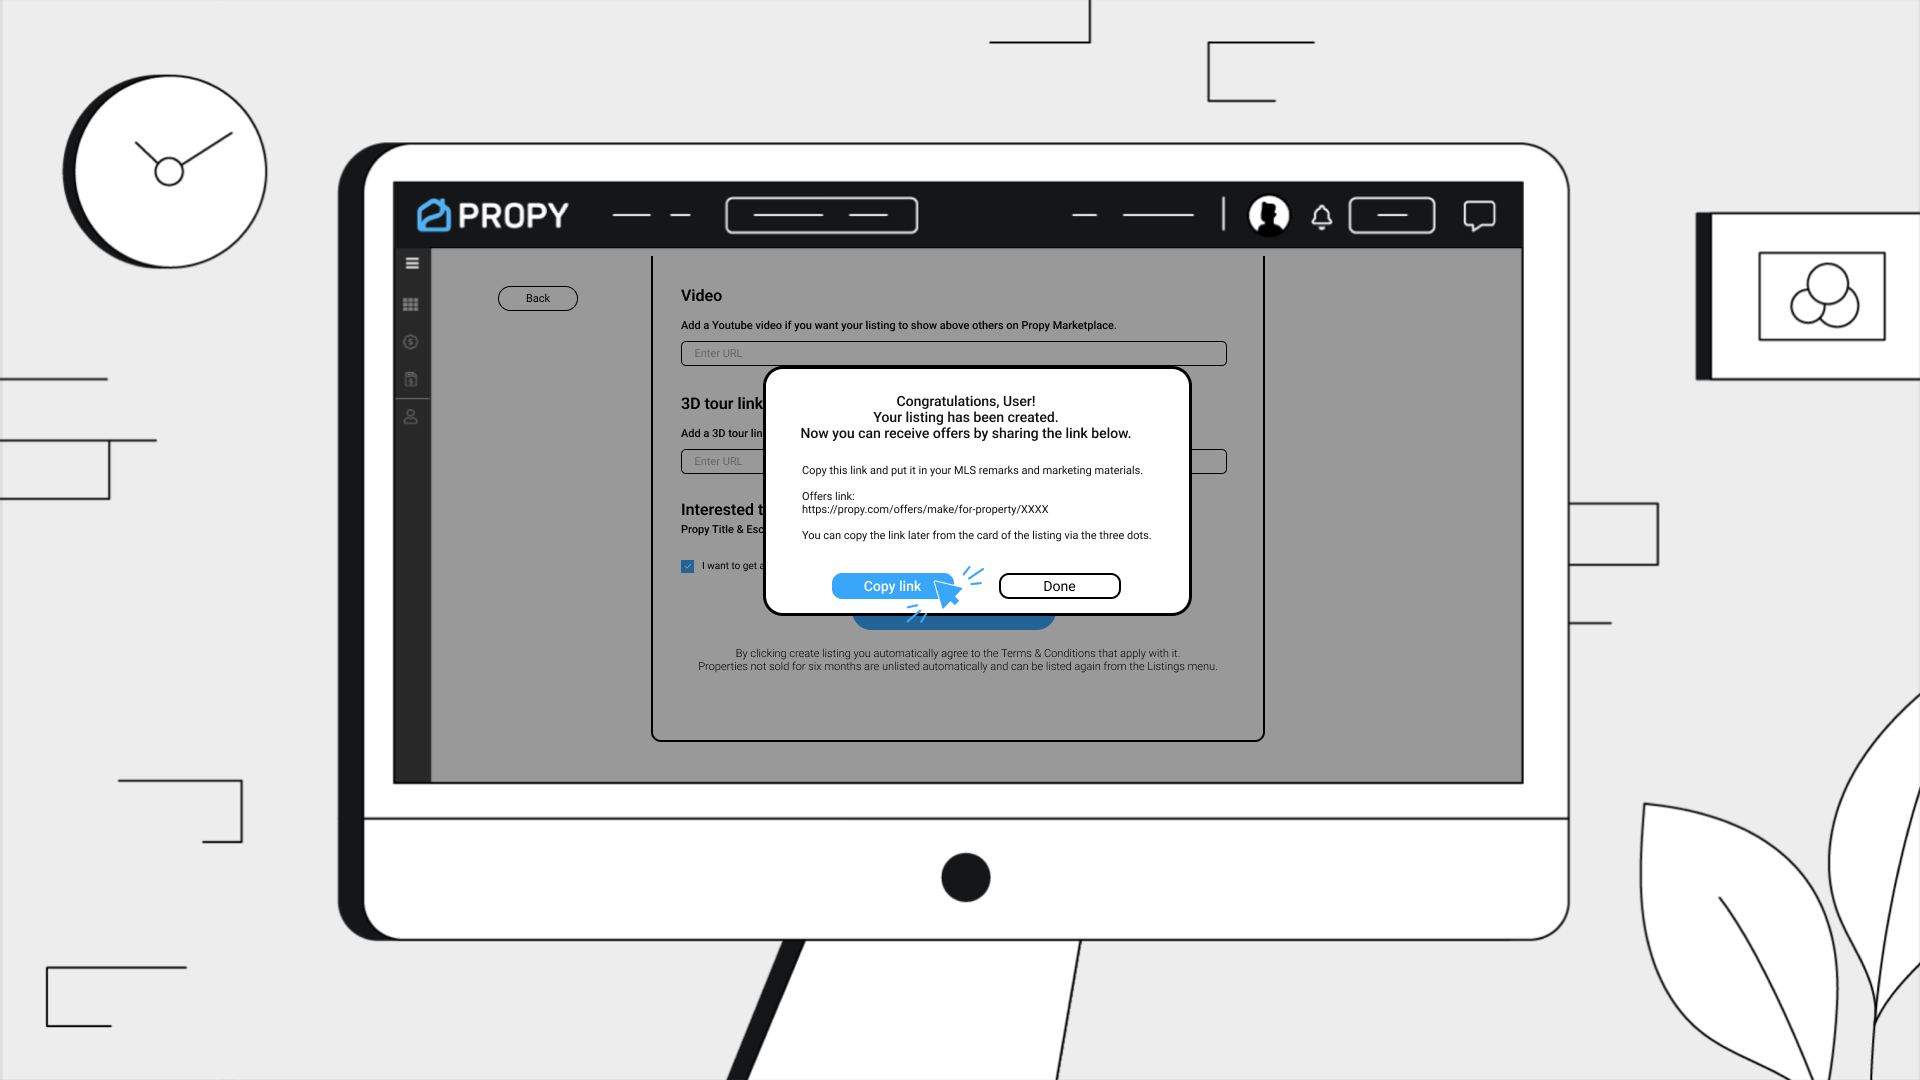
    - Click "Done" to publish the listing.

6. Edit an Existing Listing

    - On the property card, click the "Edit" button.
    - Make any necessary changes.
    - Click "Back" to review your edits.
    - When prompted, click "No", then click "Submit" to save the changes.

Creating a Transaction as an Agent

1. Log In to Your Agent Account

    - Use your credentials to log into the agent dashboard.

2. Start a New Transaction

    - Click on the "Create Transaction" button.
    - Select "Buyer Agent" as your role.
    - Click "Next" to proceed.

3. Upload the Purchase Agreement

    - Upload the purchase agreement document.
    - Click "Create Transaction".

4. Add Participant Names

    - Fill in the names only for all participants.
    - Click Next to proceed through the next steps.

5. Complete Full Participant Details

    - At step 5, repeat the process — this time, include all fields such as:
      • Email
      • Phone Number

    - Proceed to complete the transaction setup.