Home > Knowledge Base >
Getting started with Propy’s Transaction Platform
Get started with Transaction Management.
GET STARTED
You can start a transaction either by accepting an offer on Propy and converting it to a deal directly on the site or by going to My Profile>Start transaction.
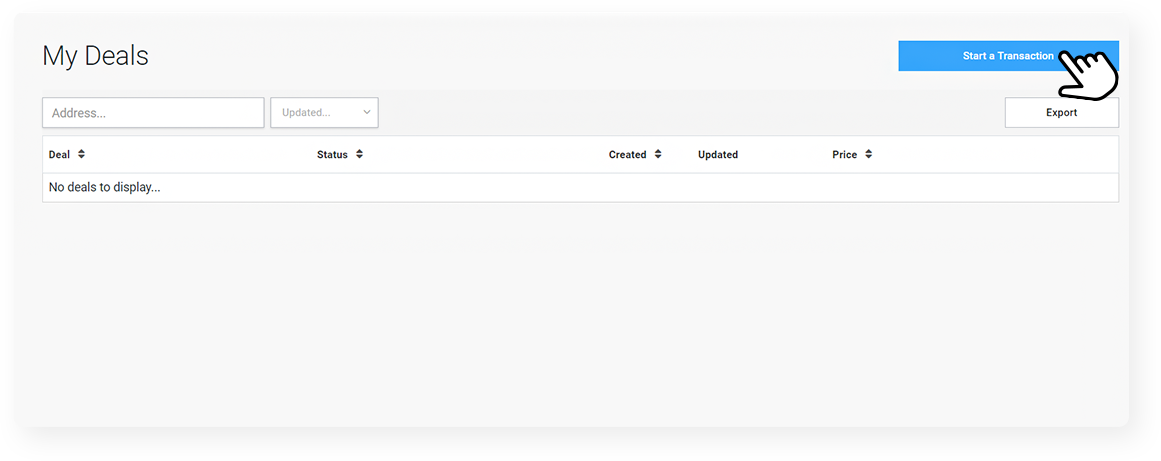
Once you click the button, you’ll see the transaction setup screen. If an offer has been accepted, the deposit, final price, and address would pre-populate automatically, while if you start one manually, you’ll need to fill them out.
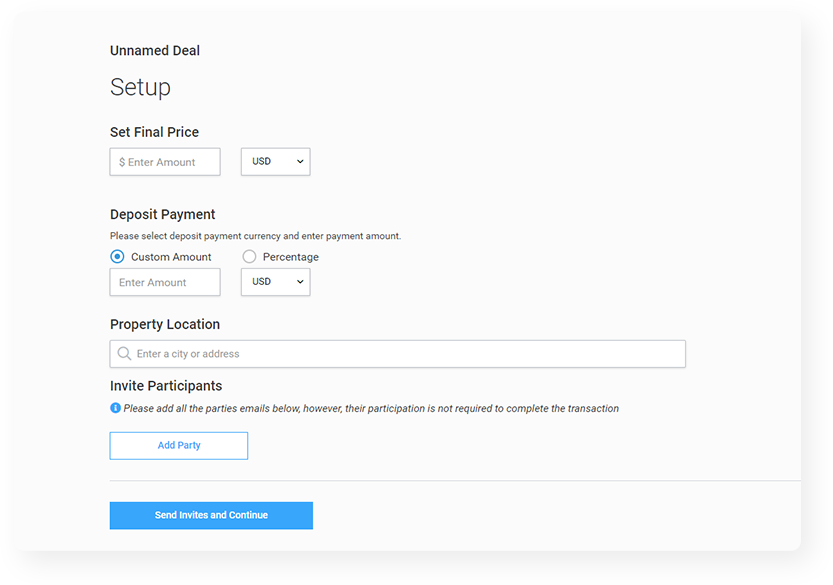
After you have entered the address and the price, it’s time to invite the other participants in the transaction. While you can complete a deal by yourself, Propy makes communication with multiple parties easier, so we suggest you invite not just your client, but also the other agent and their client, as well as the title and escrow company.
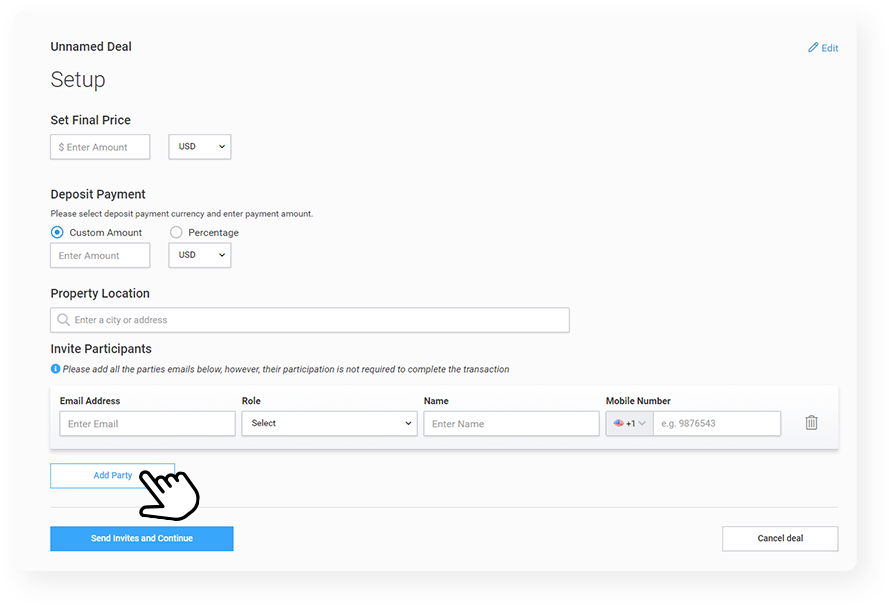
When you invite someone, you need to enter their email address, and if they don’t have an account – a name and phone number. Title companies are going to receive an invitation to join the transaction on Propy, while your clients – be it a buyer or seller, will only receive notifications via email and text message when an action is required from them – for example, a signature.
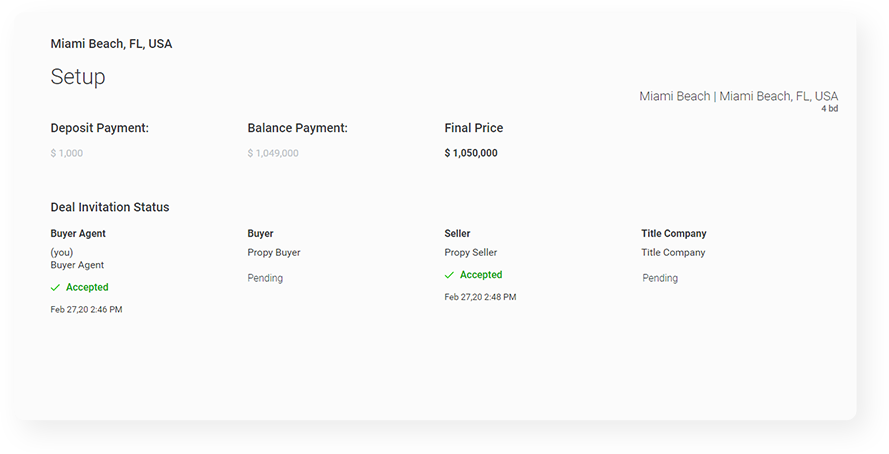
Once you’ve sent the invitation, you can continue with the transaction, as you don’t need to wait for others to accept to get started.
MANAGE TRANSACTIONS
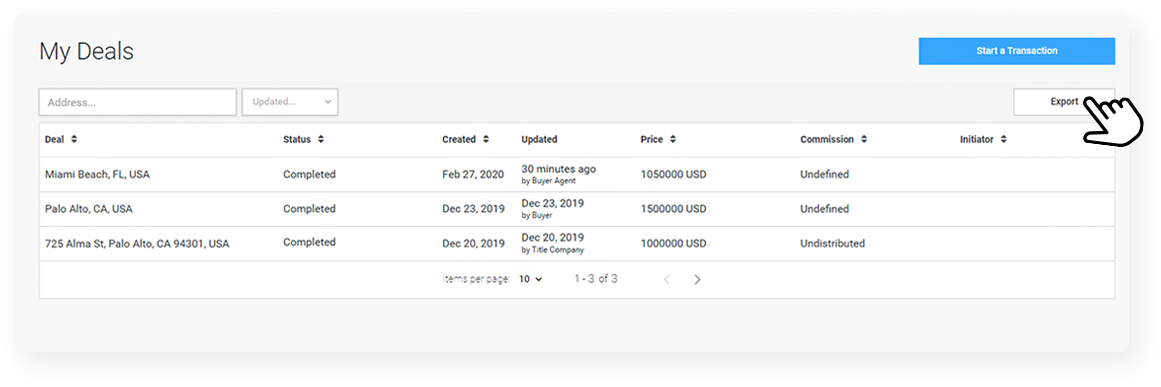
You can see all of your transactions directly from the menu My Deals.
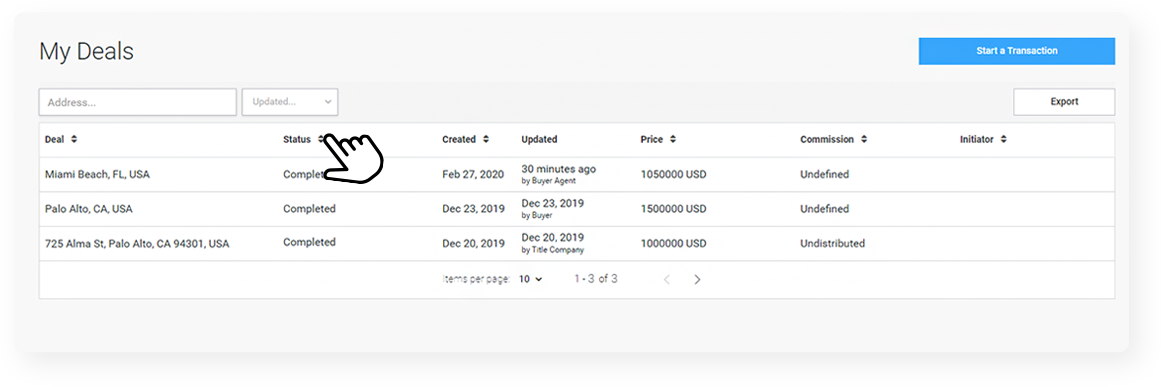
You can sort the list by different fields or export it as a spreadsheet by clicking on the “Export” button.
