Home > Knowledge Base >
Getting started with Propy’s Document Management
Manage your documents and templates.
GET STARTED
When you upload a document to the deal, you can assign different actions to it:
– From the three dots menu – assign signers, share, delete, download, rename, and split.
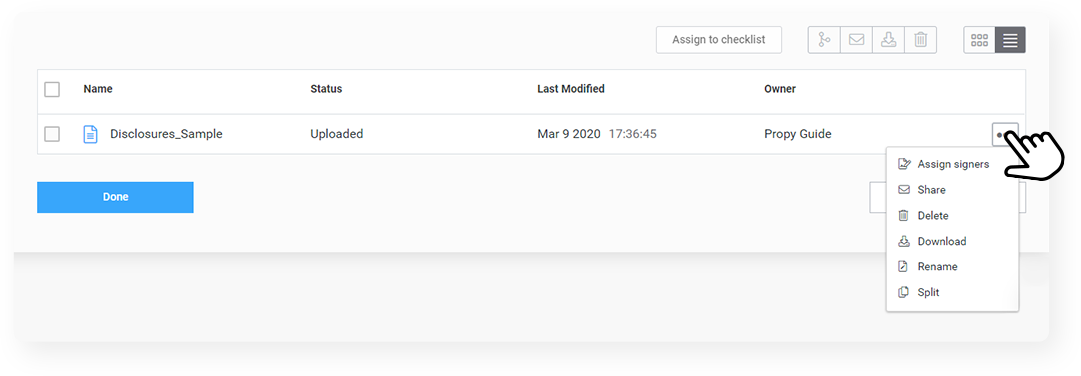
– From the buttons above the list of uploaded documents in the deal step – assign to the checklist, merge, send, download, and delete.
You can upload documents as large as 50 megabytes to Propy and work with them, however, you can only assign signers to files smaller than 25 megabytes due to DocuSign restrictions.

Clicking the “Assign to checklist” button brings up a window with all of your unassigned documents for this transaction along with the checklist. To assign documents to the correct checklist items, all you need to do is drag and drop them there.
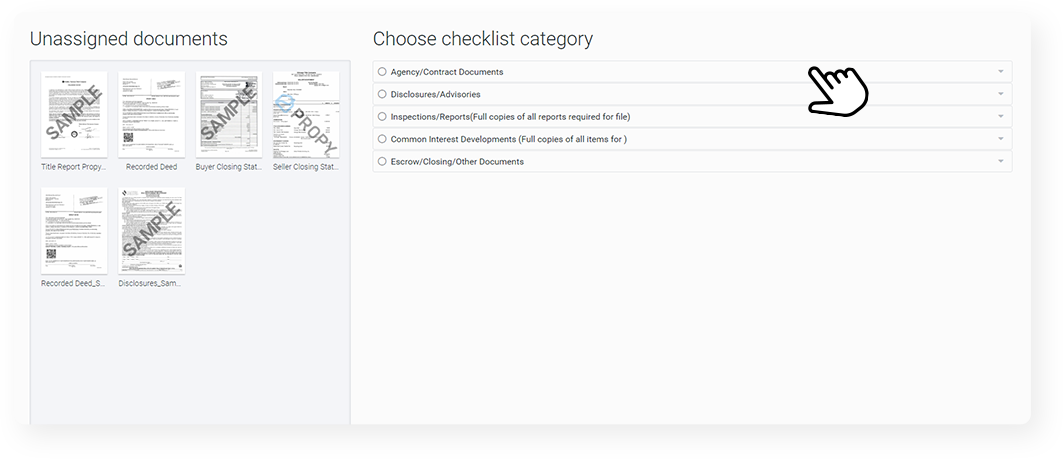
If you’d like to assign multiple documents to a checklist item, you can drag and drop them on top of it.
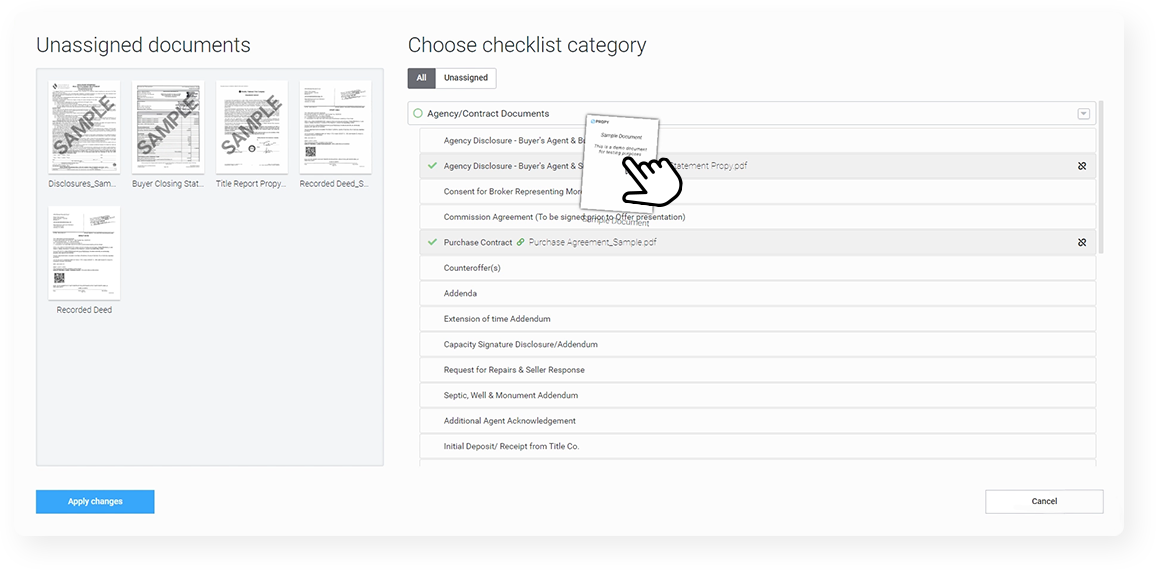
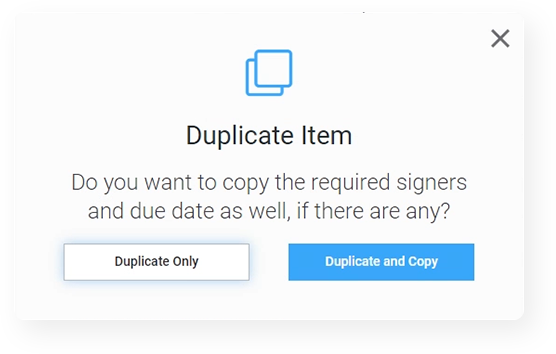
This will allow you to create a duplicate item in the checklist and can even carry over the due dates and signers as well.
MANAGE DOCUMENTS
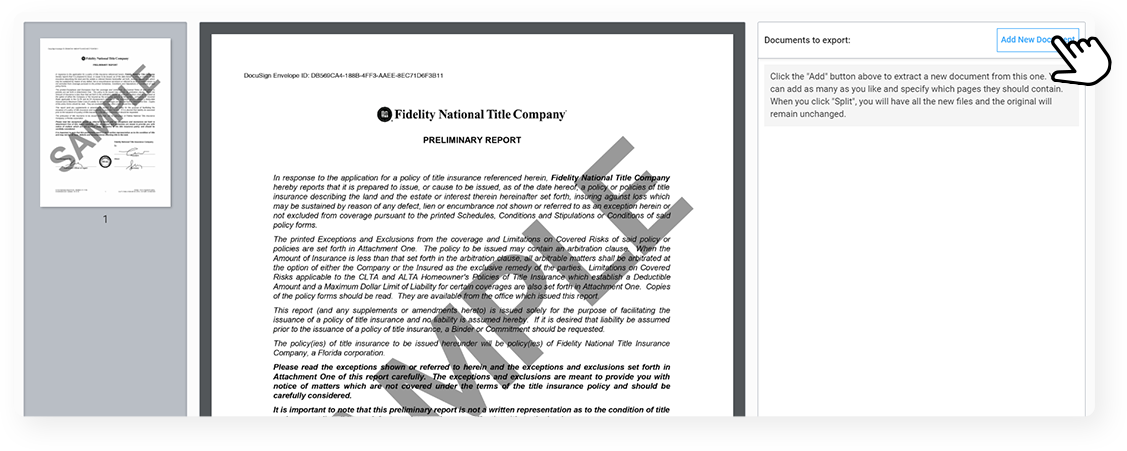
The Split button allows you to split a large document into smaller ones by selecting a range of pages. If you select a document name from the checklist suggestions as you type, the new document will automatically be assigned to the checklist item with that name.
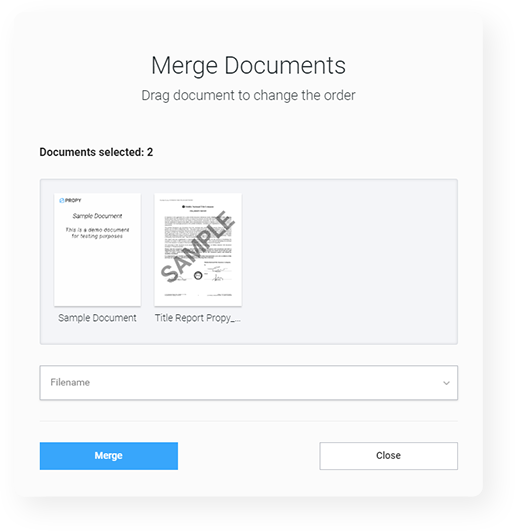
The Merge function allows you to combine multiple .pdf documents into one.
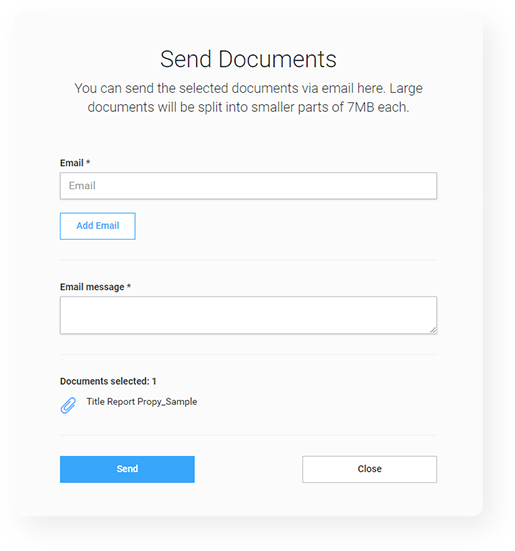
The share option allows you to share specific documents with other parties directly via email. They don’t need to be a part of the transaction to receive the documents.
